Services are the individual offerings of a core, and are found in the bottom panel of the Request Services tab. As a core administrator, you can add/edit the services and change their order.
Create a New Service
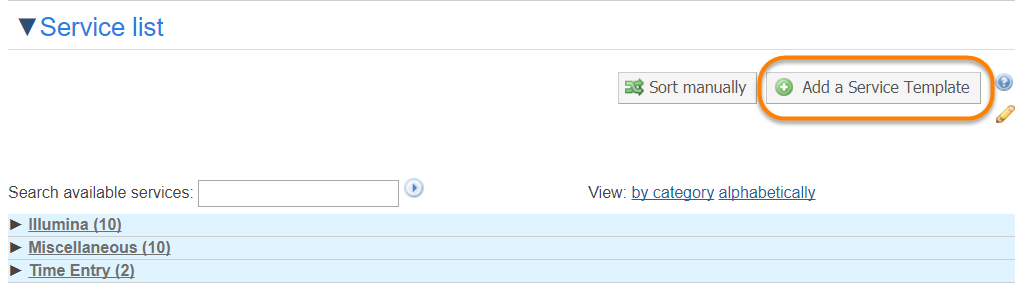
To create a new service, click on the 'Add a Service Template' button:
This will open the New Service screen.
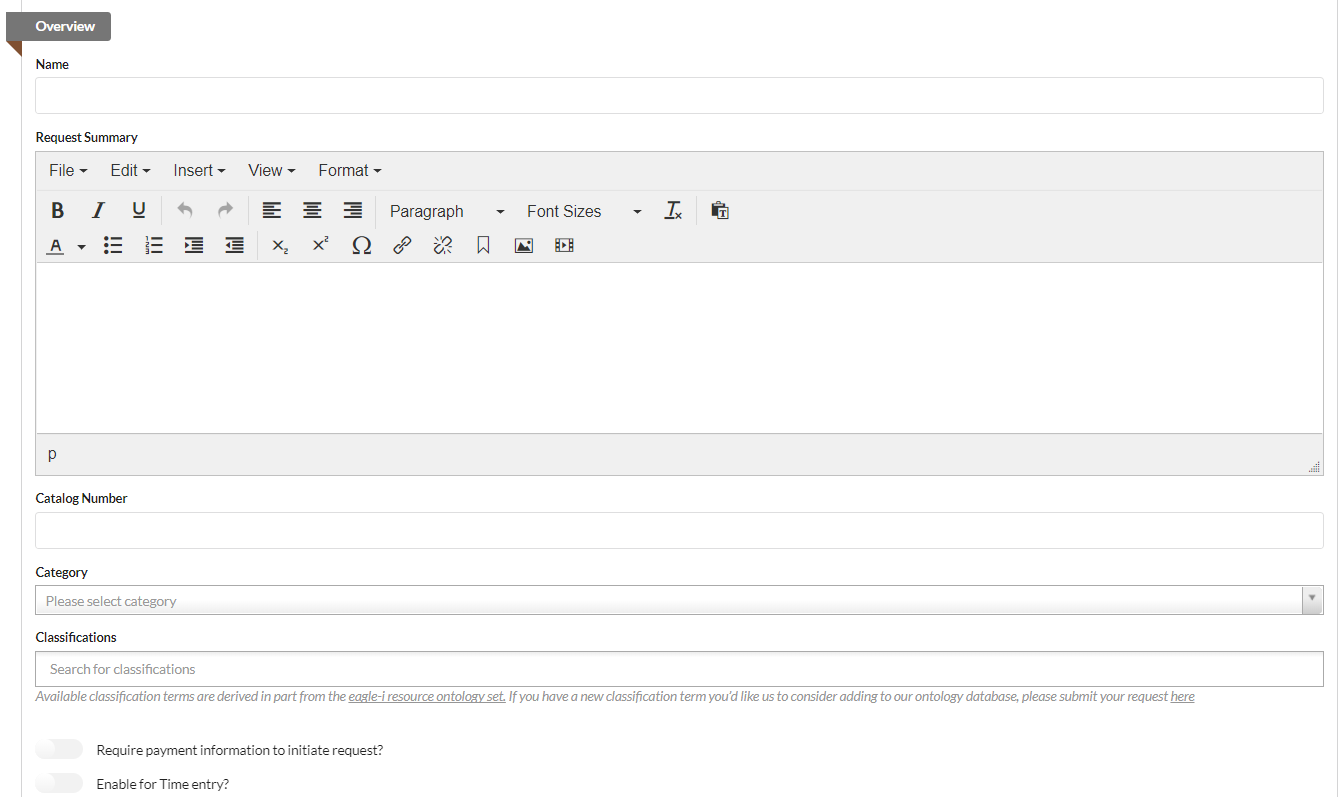
- Name: Enter the name of the service.
- Request Summary: Enter a description of the service.
- Catalog Number: If this service is in a catalog, enter the catalog number. NOTE: This is a custom feature for specific institutions. It will only populate for institutions that use it.
-
Category: Assigning a category provides a way to group similar services into a broader topic. Categories are used to visually group services on the Request Services interface. Default behavior is for services to populate in categories. If you do not enter a category, the service will default to "unclassified". To create a new category, click in the category drop down and begin typing the name of the category you wish to create. Once you have typed out the full name click on the underlined category name that populated below. This will then create the new category and assign it to the service.

- Classifications: Available classification terms are derived in part from the eagle-i resource ontology set. If you have a new classification term you’d like us to consider adding to our ontology database, please submit your request here
- Require Payment information to initiate request?: Indicate whether you would like to require that users enter payment information to submit a request.
- Enable for Time Entry: Define if you would like to include this service in your Time Entry tool for members to assign their time. NOTE: This option only available to clients that have the Time Entry module turned on.
-
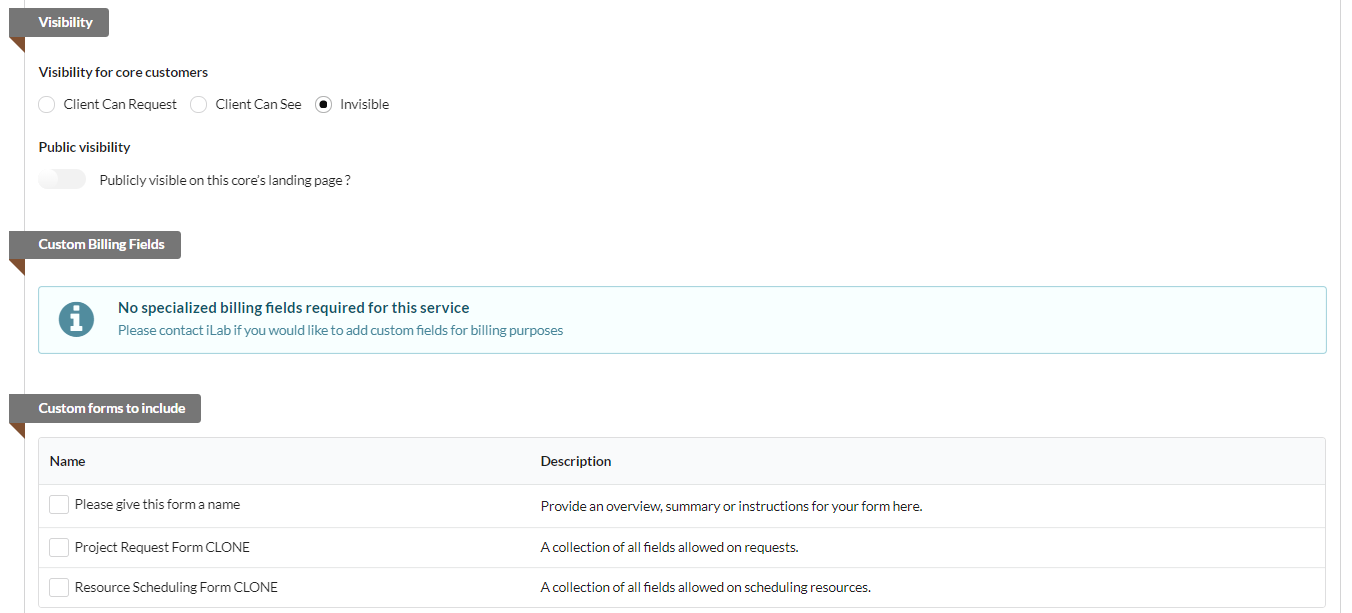
Visibility for core customers: The options are:
- Client can request: Client may submit this service as a request.
- Client can see: Client can see this service but cannot submit a request.
- Invisible: Client cannot see this service until added to a project request.
- Public visibility: If set to yes, this service will populate on the core's external landing page and can be seen when not logged in to iLab.
- Custom Billing Fields: Custom billing codes can be set per service here in the template, or as core default under the administration tab. It provides a way to get unique codes into billing file for clients with billing integration. NOTE: This feature can only be turned on by an iLab associate.
- Custom forms to include: If your core's workflow allows users to initiate a service as a request, you can attach a custom form to the service for customers to fill out. For more information, see Custom Forms.

- Assigned core members: Assign a core staff member to receive notifications about this service.
- Assign other core members to this resource: Here you may select (or de-select) core members to assign to this service. To assign, click the 'Assign' button beside the name. Note: The list of workers is populated from the Administration tab, members panel.
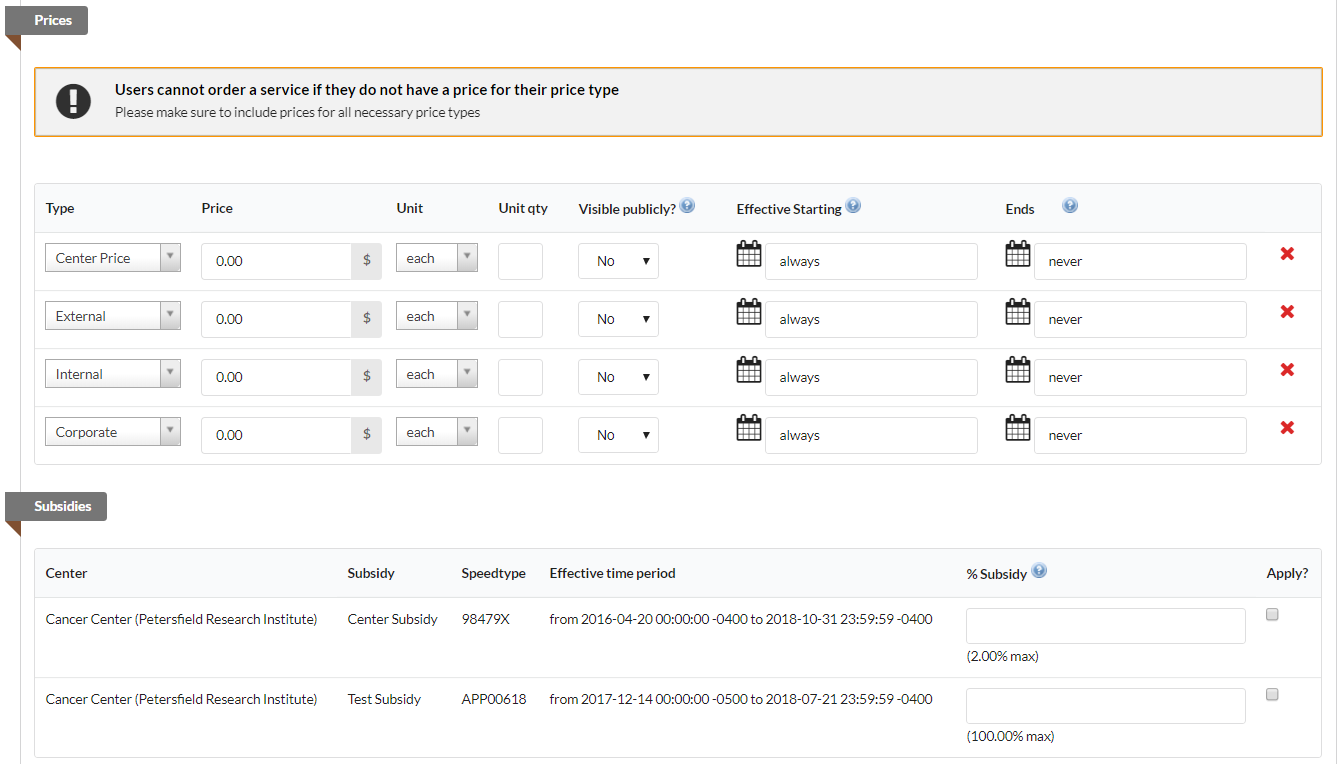
- Prices: Enter price per price type here. Price types are core-defined price structures for internal, external, center, and corporate customers and labels may change per institution. You will need to enter a price for each price type you will use within the core. You may also enter an effective date and end date for the price. Please note, if the price expires and a new date has not been entered, a user will not be able to request this service.
- Subsidies: Subsidies are sums of money granted by the government or a public body to assist with payment of designated services. If you would like to use a subsidy for this service, select from the available subsidies here. Then, enter a percentage of the subsidy you would like to use. If no subsidies display, your core does not currently have any subsidies available. This field is defined at the institution level.
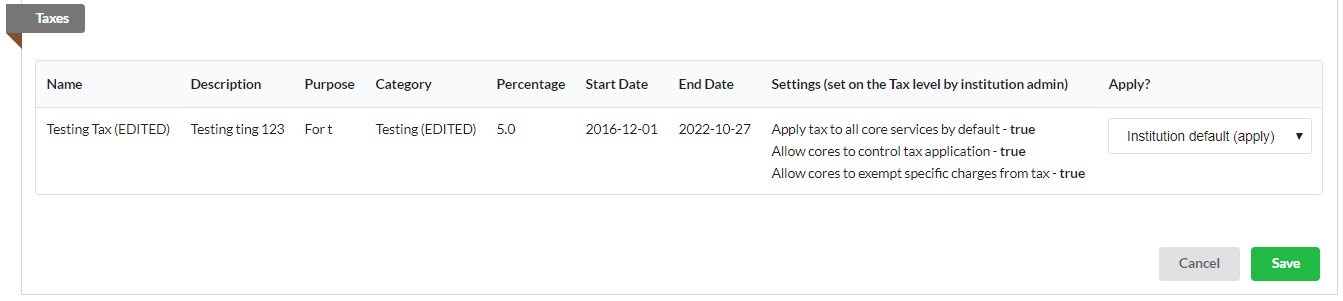
- Taxes: Indicate how you would like the taxes applied by clicking in the drop down Apply? box and selecting a designation. When you have completed the form, click the green 'Save' button. Note: This feature must be activated by an iLab employee.
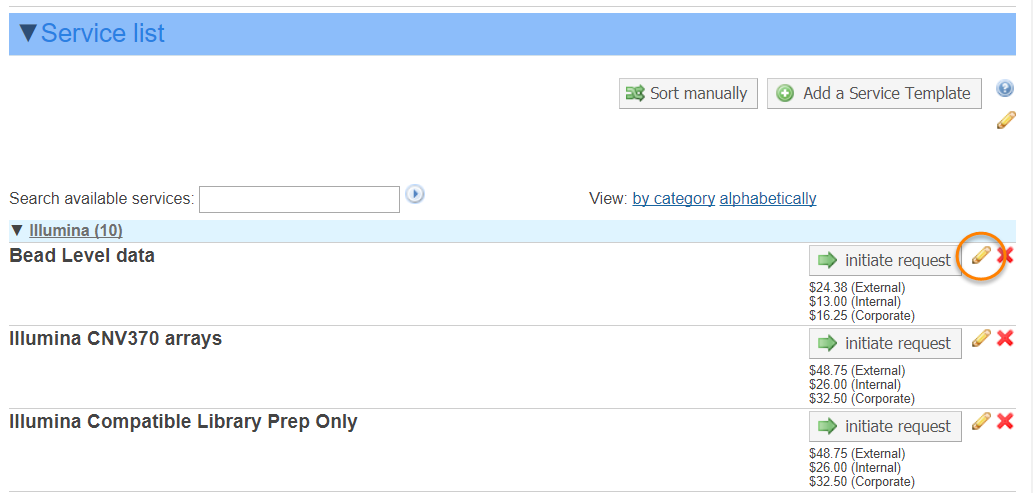
Edit a Service
To edit a service, click on the yellow edit pencil to open the service. This will open up the Create a New Service interface. Make edits/updates and click 'Save'.
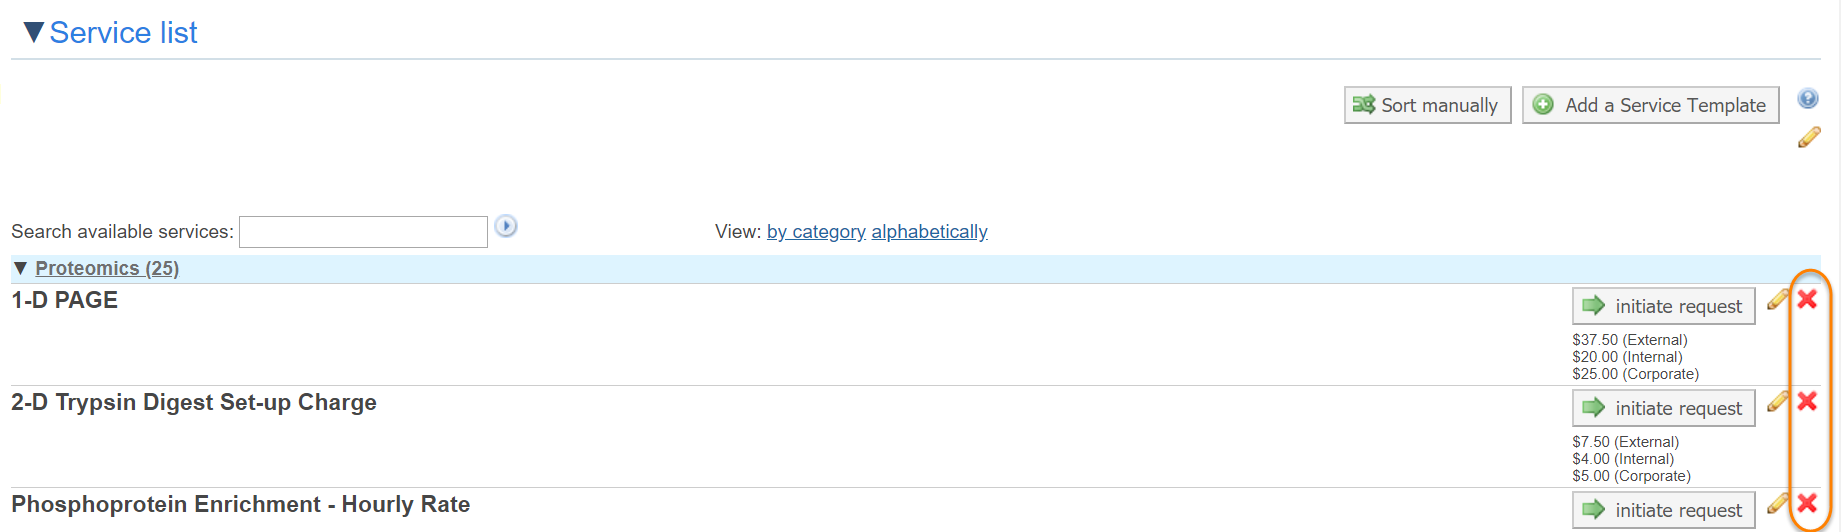
Delete a Service Template
To delete an existing service template, click on the red x beside the service you would like to delete. A confirmation window will display. Click OK to clear the message and delete the template. Note: This process is not reversible, please be sure you really want to delete the project before clicking OK.
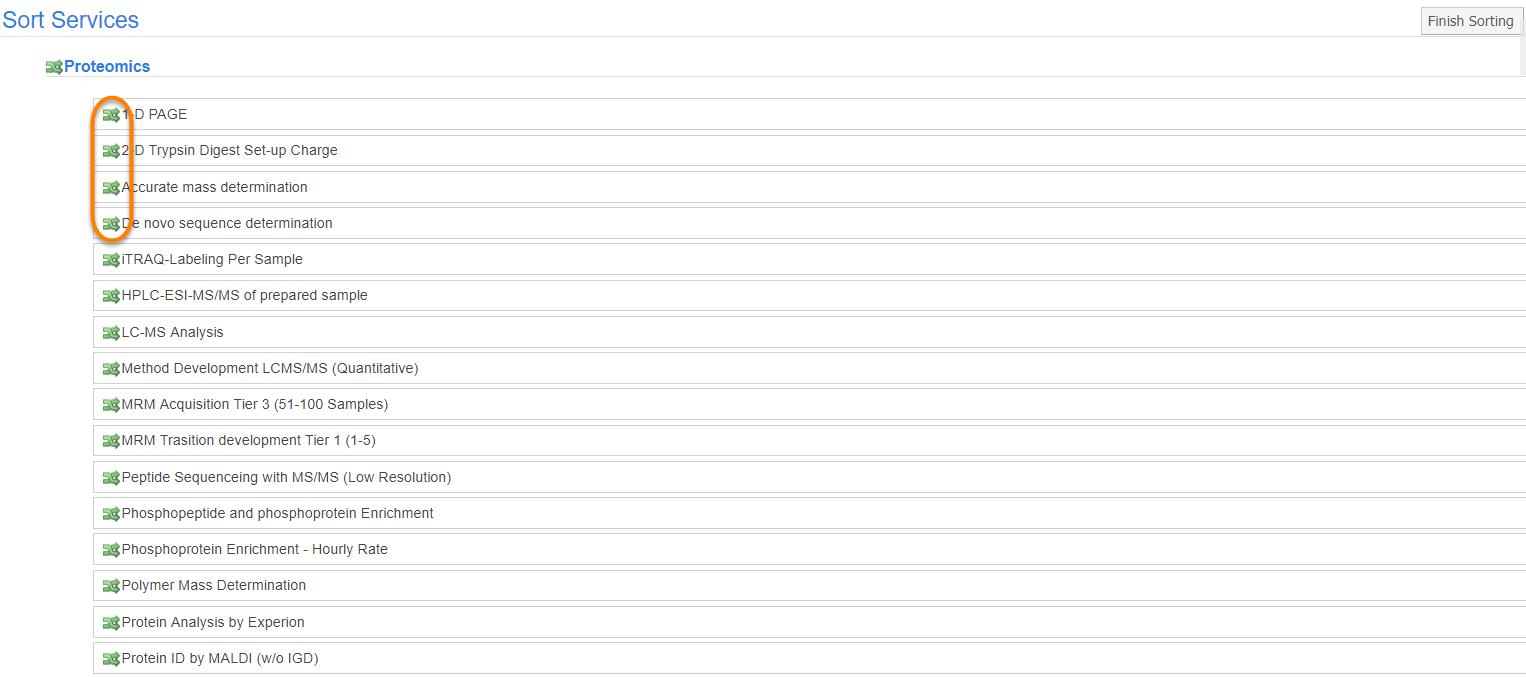
Change the Order of Services
If you would like to change the order the services display, click on the "Sort manually" button.

Then, hover over the green arrows until the cross-hairs display. Click and hold down the mouse and drag the service or the whole category section to the position you would like. Note that you cannot move services between categories. To change the category of a service, you need to change it using the edit functionality above. Click on "Finish Sorting" to save changes.