A sample request form is a document used by your customers to order samples from your core. It is created and maintained by core administrators and can be configured to include any fields you require.
Create a Sample Request Form
Your sample request form is the request form your customer will fill out when submitting samples and requesting services. This form is configurable and offers many different types of field options.
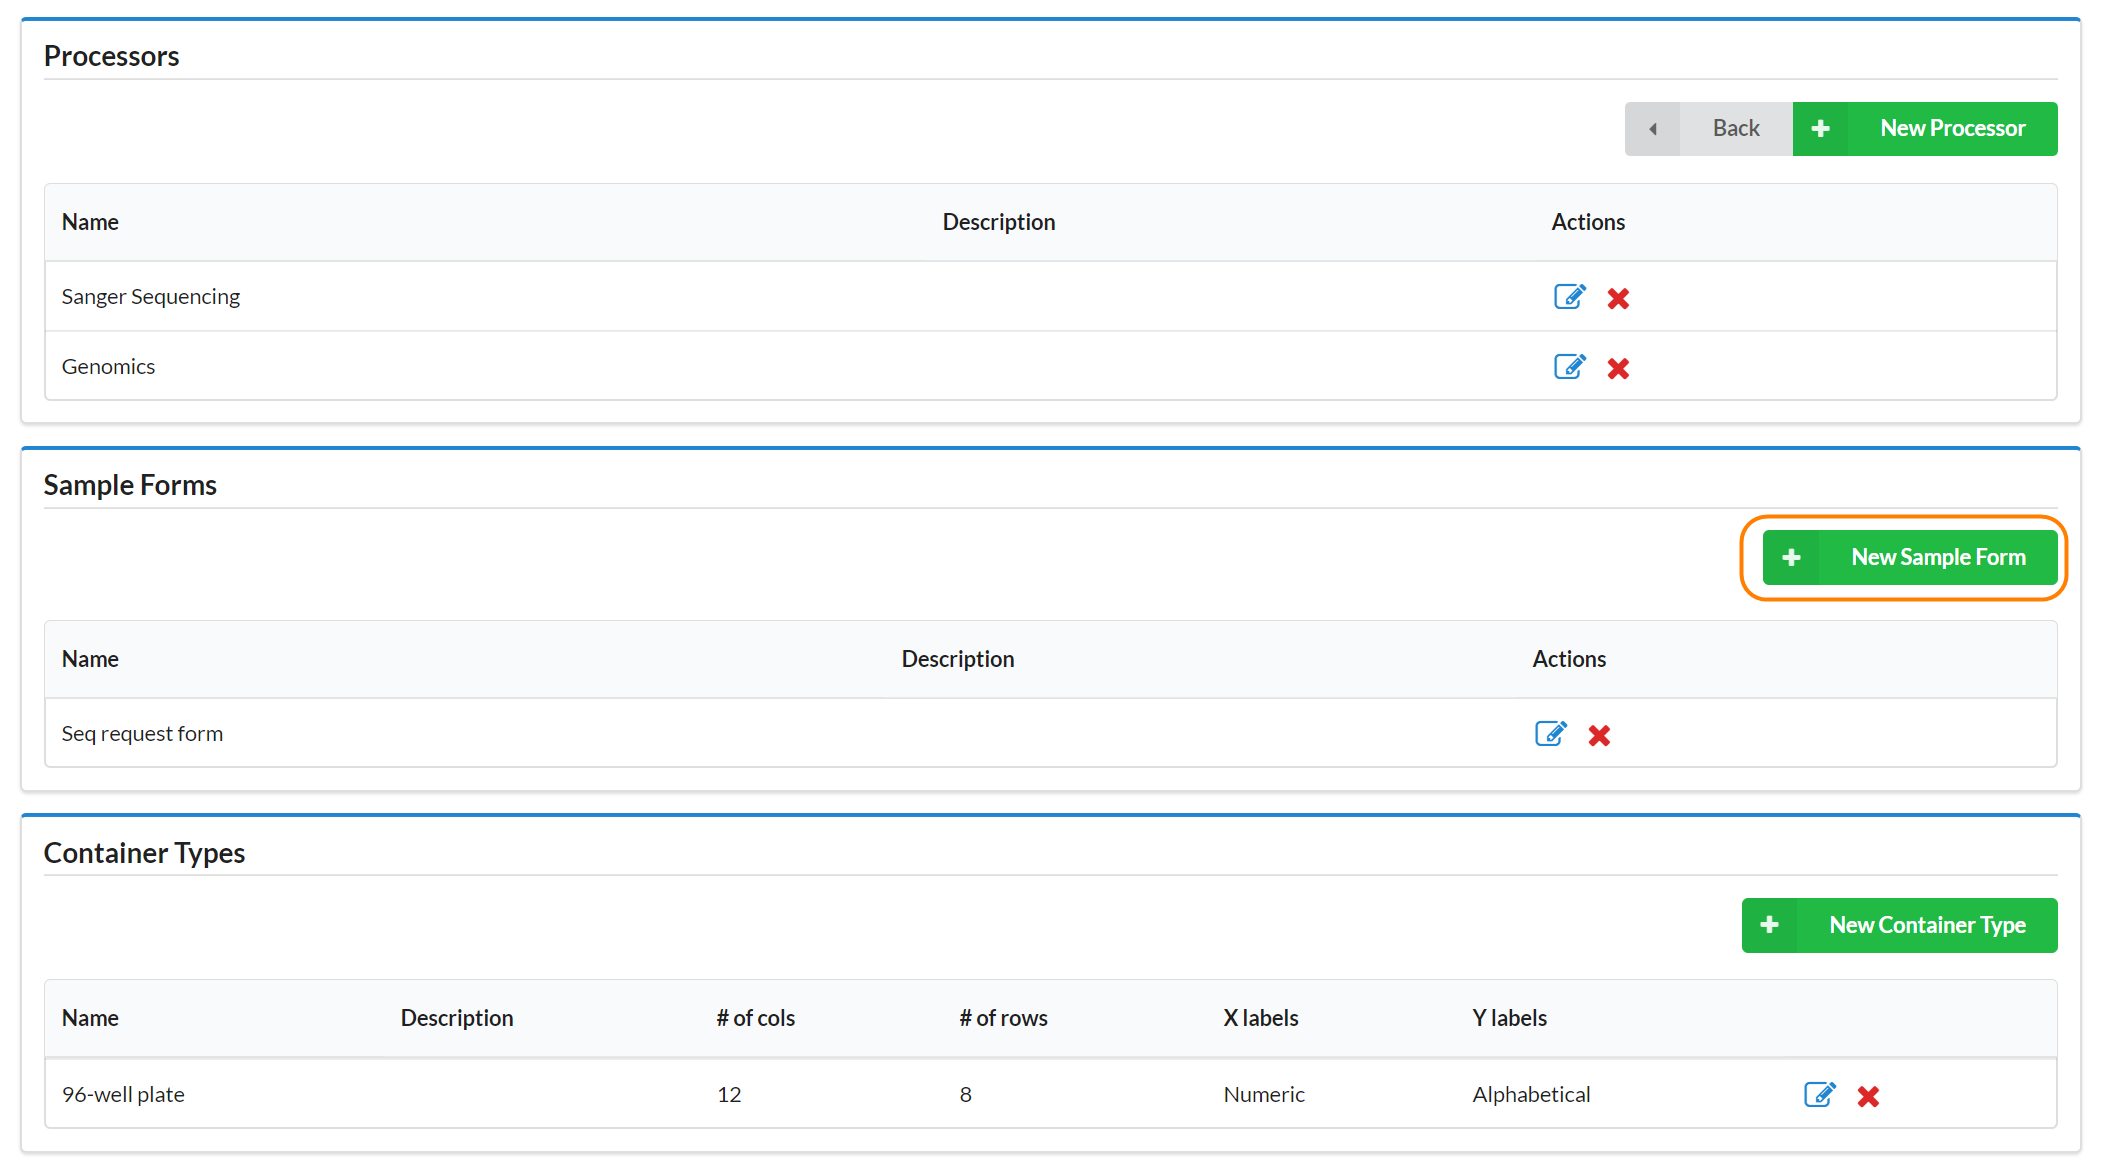
On your Samples tab, click on the "Administration" button to begin creating a new sample request form.

You will be presented with the option to create three different sample elements. Click on the "New Sample Form" button.
You will now be presented with options to help you configure your sample request form.
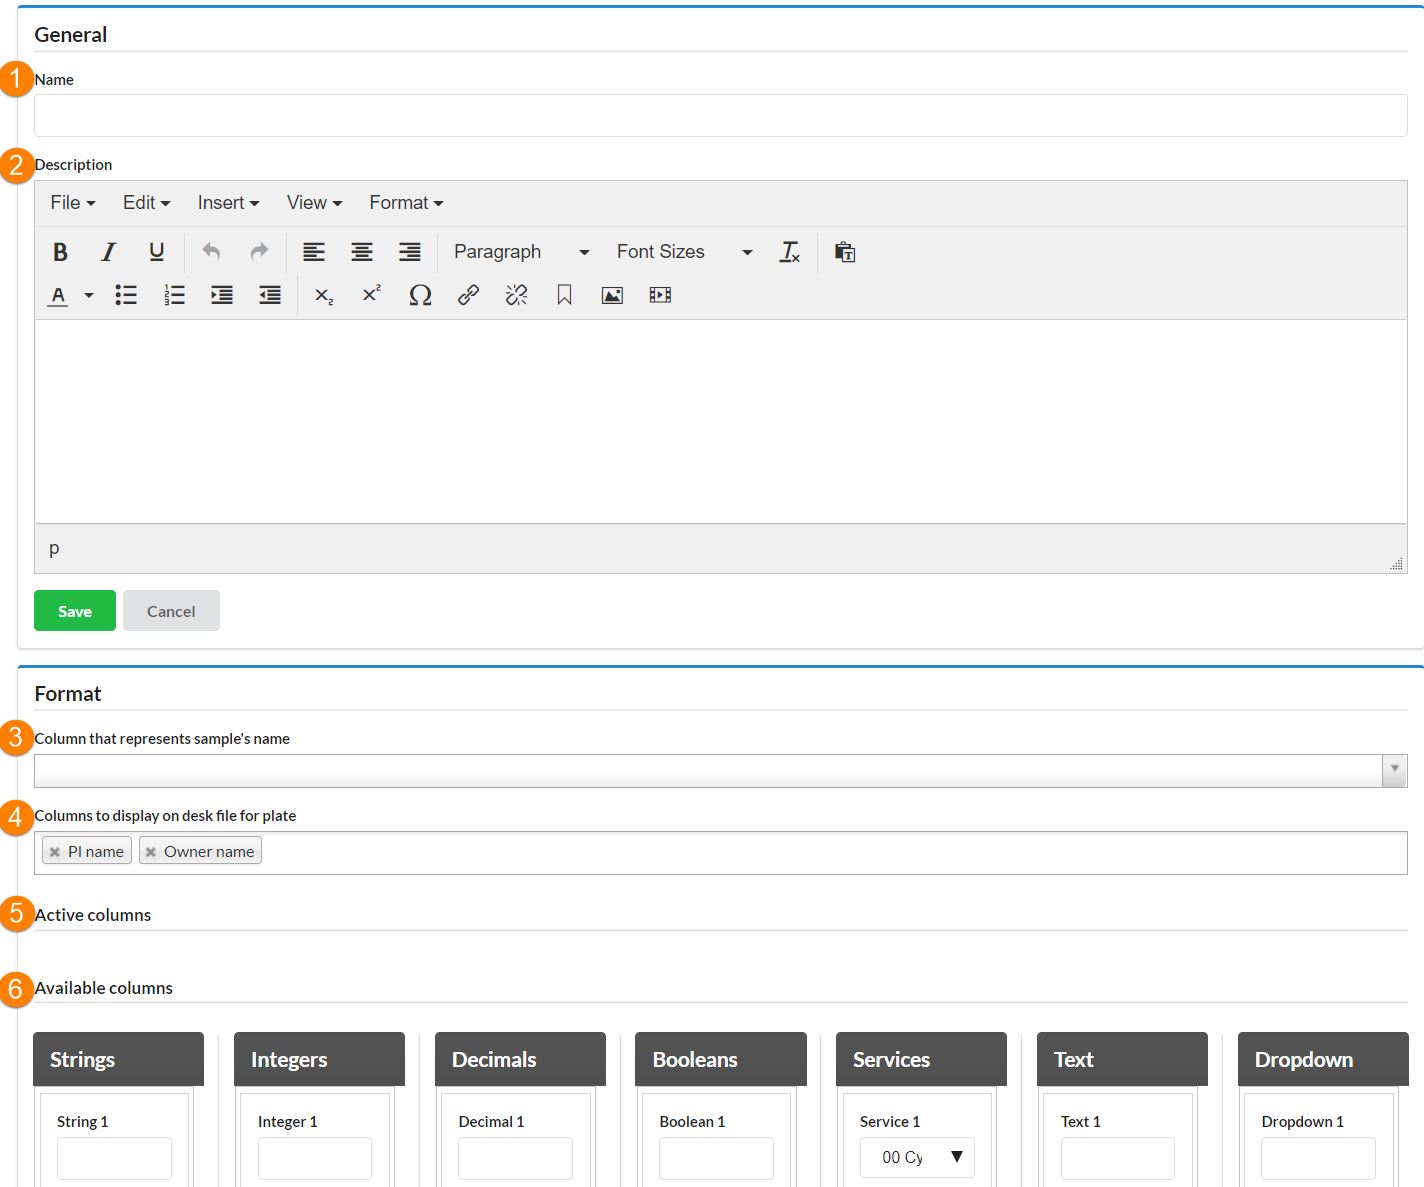
- Name: Assign a descriptive name to your new sample request form
- Description: You can optionally add a description of the sample request form
- Column that represents sample's name: Designate which field in your form will be identified as the primary Sample Name field. To populate this drop-down menu, you will need to first create your request form, save it, and then return to edit the form to update the Sample Name Column with an existing field.
- Columns to display on desk file for plate: Designate which field in your form will be identified on the desk file. To populate this drop-down menu, you will need to first create your request form, save it, and then return to edit the form to update this field with an existing field in the form.
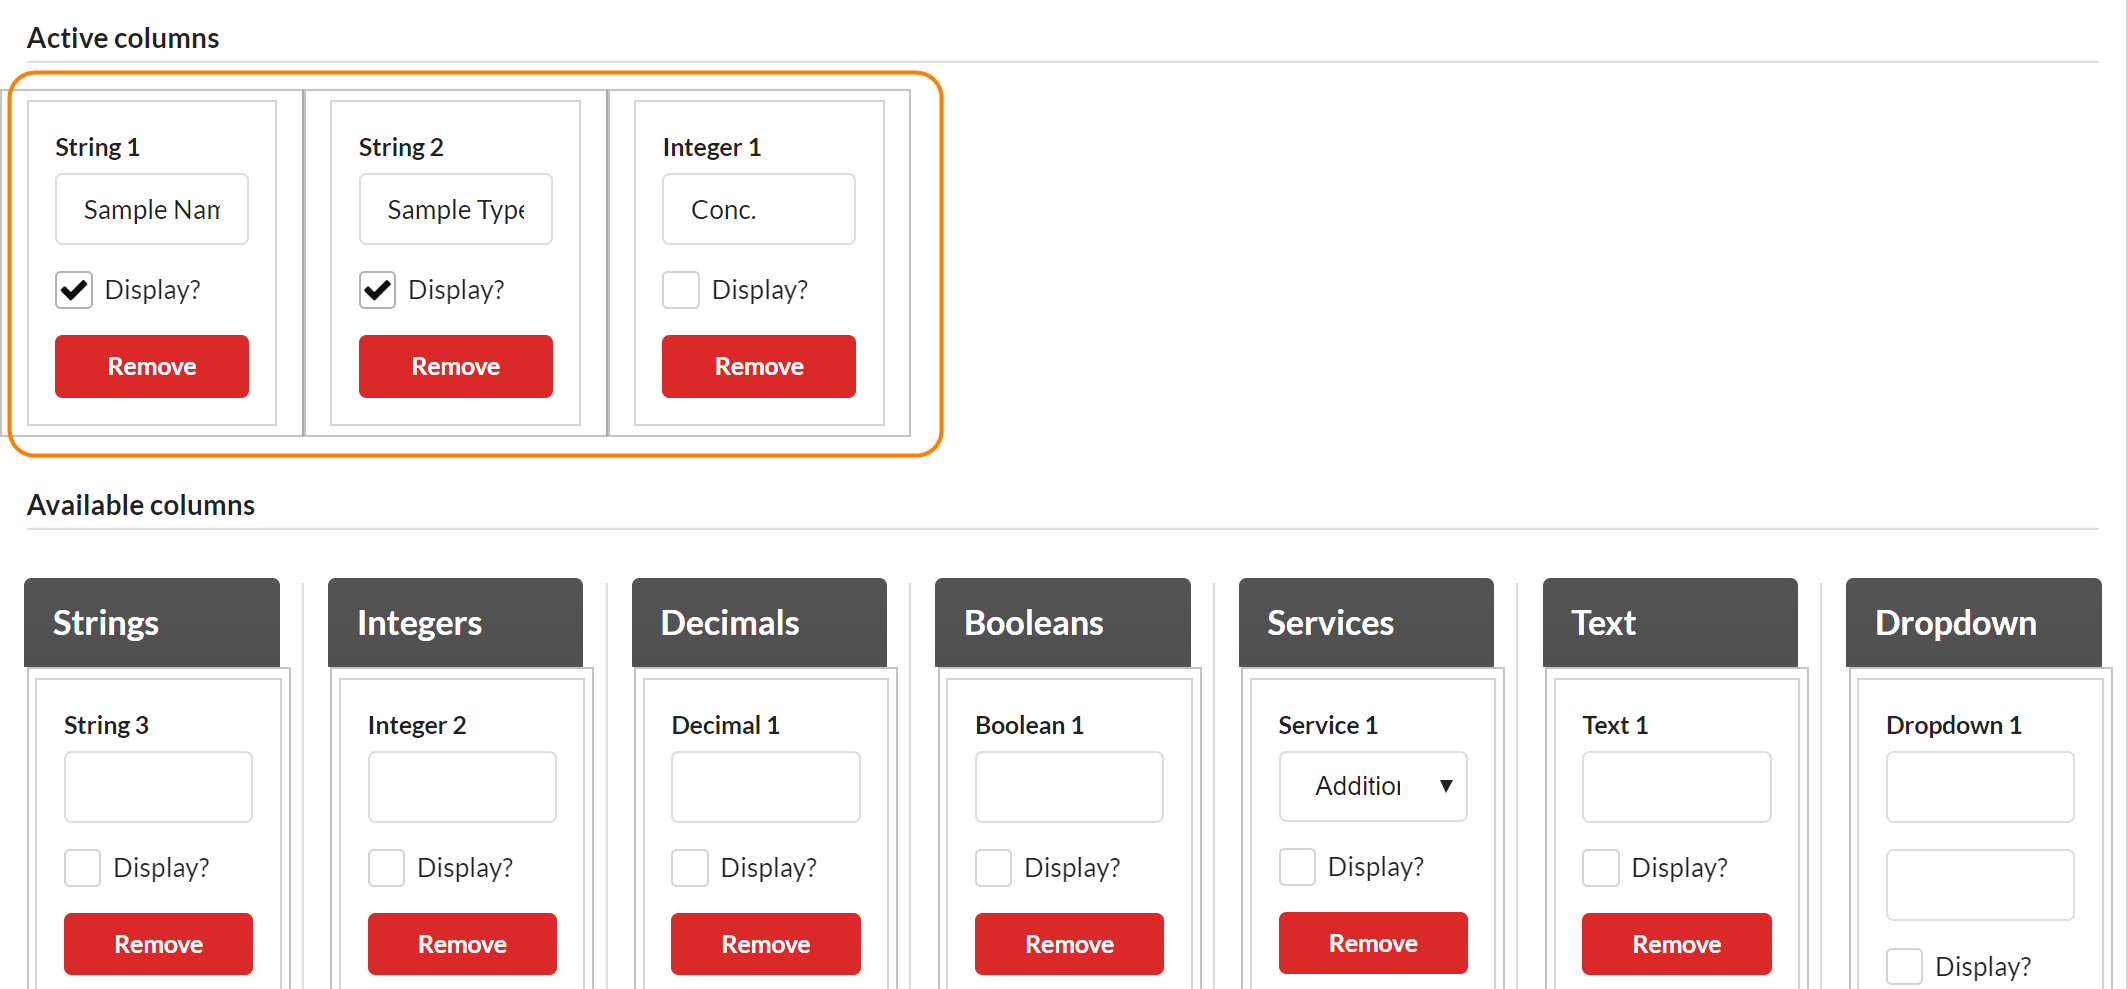
- Active columns: This field lists all the columns you have created for your form. To populate this field, put your cursor on the box header (i.e. "String 1", "Integer 2", etc.), click, and drag the item into the Active Columns section, and arrange them in the order you would like them to display in the request form.
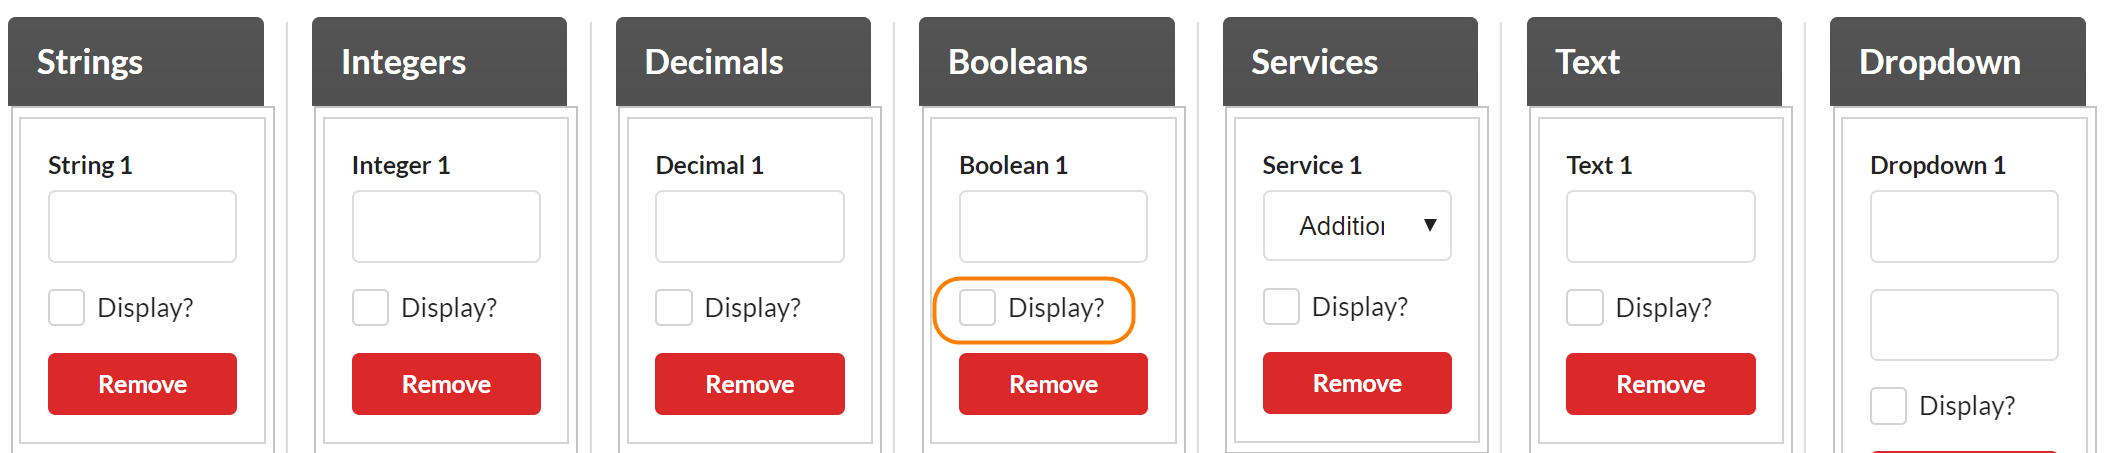
- Available columns: There are several different types of fields available. What field type you choose will be dependent on the type of information you want your customer to enter. Below are some short definitions.
- Strings: A string allows for customer entry of short text entries. A maximum of 10 String fields may be added to a form.
- Integers: Integers allow for customer entry of whole numbers. A maximum of 5 Integer fields may be added to a form.
- Decimals: Decimals allow for customer entry of numbers that contain decimal points. A maximum of 5 Decimal fields may be added to a form.
- Boolean: Use a Boolean field for Yes or No type questions. A maximum of 5 Boolean fields may be added to a form.
- Services: Use this field when you would like to allow users to add services at the individual sample level. Services must be created in the iLab system first before they will be available in the drop-down menu. Information on how to create Services can be found here. A maximum of 5 Services fields may be added to a form.
- Text: A text is a larger text field for multiple sentences or paragraphs of information. A maximum of 3 Text fields may be added to a form.
- Drop-downs: A drop-down is a larger text field for multiple sentences or paragraphs of information. A maximum of 3 Drop-down fields may be added to a form.
Within each field, you will also see a Display? checkbox option. Select which fields you would like to be visible in your Open Samples Submissions list.
Once you have defined your form fields, you will need to add them to the Active Columns section. To do so, put your cursor on the column header (i.e. "String 1", "Integer 2", etc.), click, and drag the item into the Active Columns section, and arrange them in the order you would like them to display in the request form. You can rearrange the fields within the box by dragging them left or right. You can also remove a field from the box by clicking the red "Remove" box.
Now, click the green "Save" button and refresh the page. You may now go back into the saved form and complete the "Column that represents samples name" field by clicking on the drop down box (now populated with the fields you added). Select a field. Once you have completed your sample request form, click "Save". You will be returned to the Samples tab homepage, where you can now view your new request form.
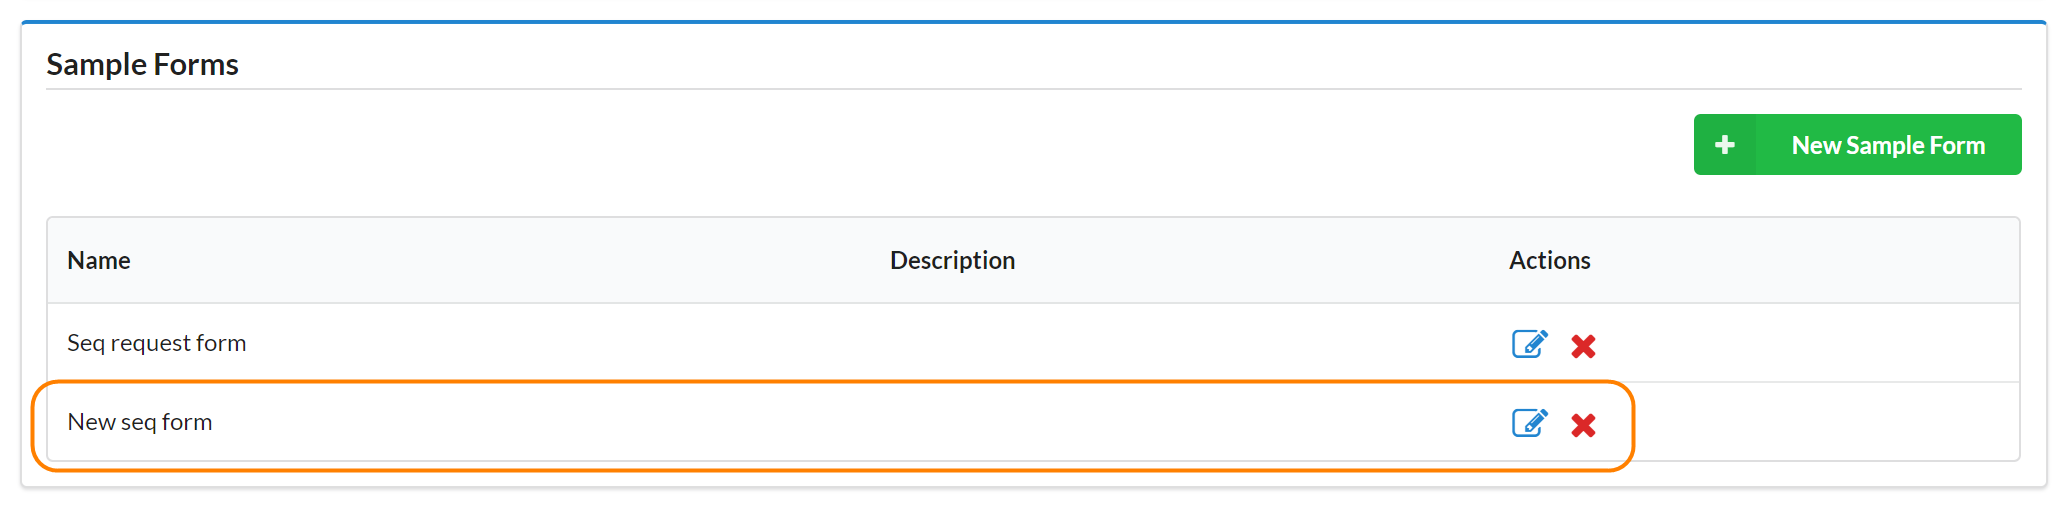
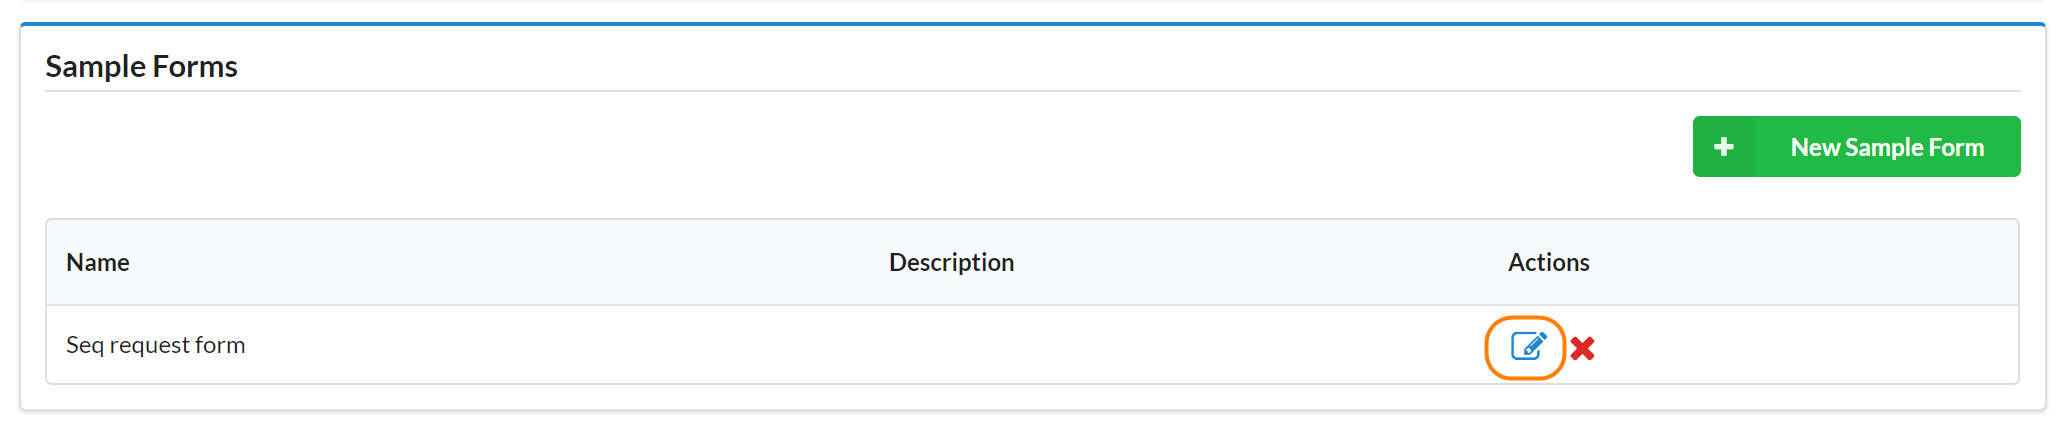
Manage Sample Request Forms
You may also edit an existing sample request form. While on the Administration tab, go to the Sample Forms section, find the form you would like to edit, and click the edit icon located in the Actions column.
You may also delete a sample form by clicking the red x in the Actions column.
